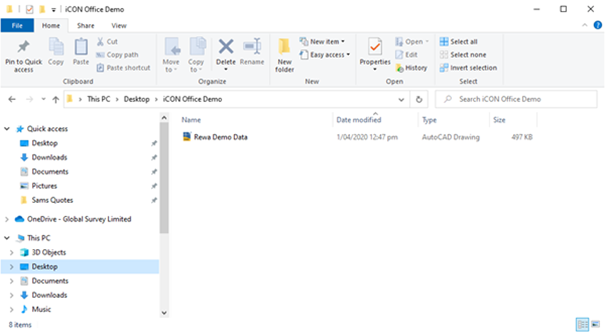
To set up your project folder
- Navigate to the folder on your computer or network drive where you want to setup your project files
- Create a new folder and label it so you can easily recognise this folder ie “iCON Office Demo”
- Within this folder copy the files for your project. This could be a DXF, DWG, XML etc.
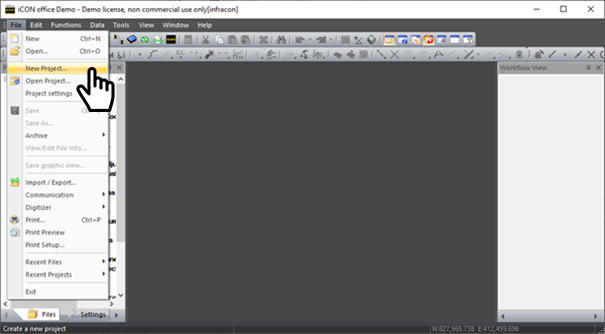
To set up your project on Leica iCON Office
- Open iCON office
- File → Create New Project
-
Using the browse function navigate to the folder you created in the above step and follow through the wizard.
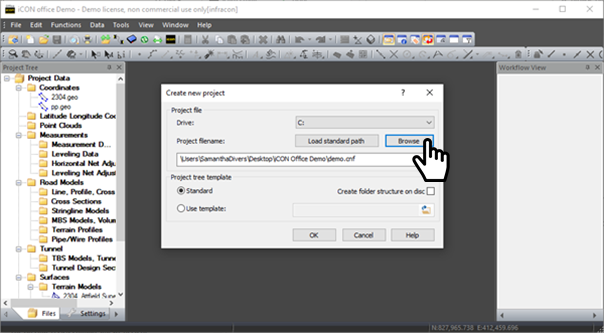
- Click OK to create the project.
-
Whatever files have been added in the project folder in the step above can now be seen in the Project Tree. As you can see above the DXF called “Rewa Demo Data” is shown in the Project Folder and also in the Project Tree.
As you create different types of files within the project they will be shown on both the Project Tree and also within the Project Folder.Open your files by double clicking the file name or dragging and dropping the file into the main window.
- Clicking this
 icon will open the Document in Graphical View. Each document open in the current view can be independently managed. By selection the properties of each file (*.trm, *.geo …) can be changed, and turned on and off in the view window.
-
Clicking this
 icon will open the Autocad Drawing Properties and within this you can turn on and off different layers of the DXF files.