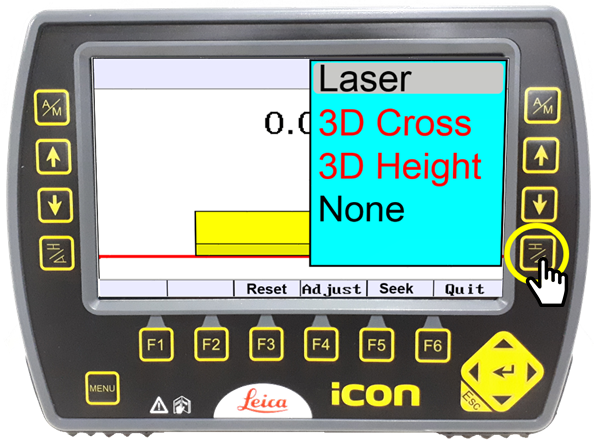
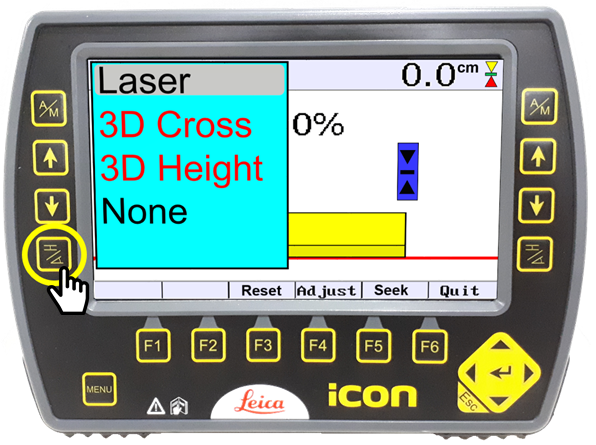
- Plug your laser sensors into the junction box making note to plug them into the correct ports. Select Laser Mode using the Sensor selection button on the control panel on each side. (Red items are un-selectable)
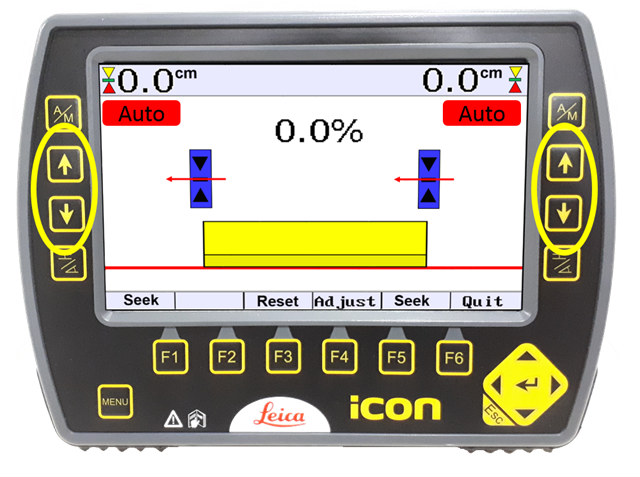
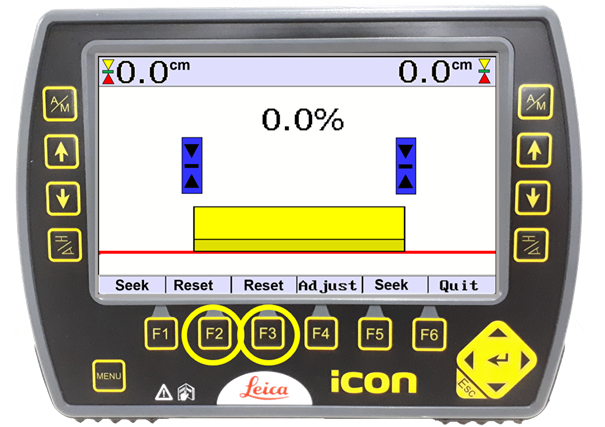
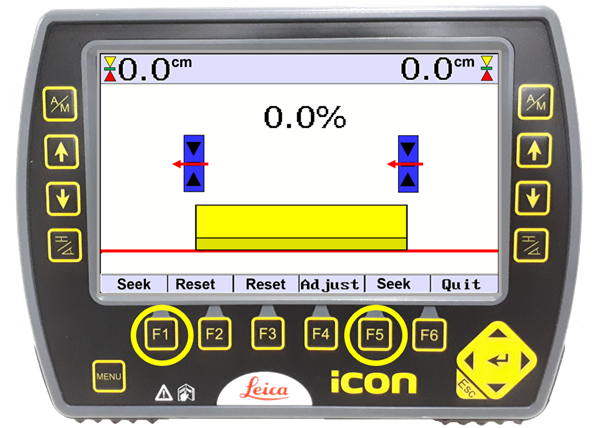
- Press corresponding “F” key below Reset (Removes any existing offset applied to sensors)
- Put the blade on the ground at the height you want to grade at (i.e. your benchmark). Keep the blade near to level.
- Put the MD40 laser sensors on the mast and move them up or down until you find the laser beam (Laser should be min 600rpm head speed).
-
Set the MD40 receivers so the laser is striking the sensors roughly near the middle.
It is not necessary to centre the MD40s perfectly as the on-grade point is adjustable on the MD40 (see next steps).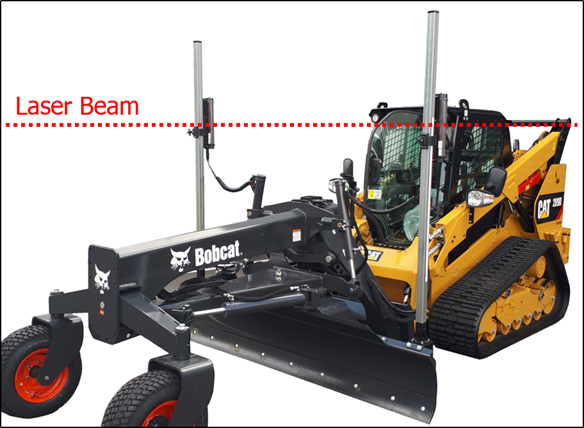
- Press and HOLD the corresponding “F” key below SEEK. You will now see the LEDs on the MD40s turn green. (You’ll see 0.0cm at the top of the screen in black.)
Operation:
You are now ready to grade and will be grading to your benchmarked level using the MD40’s on both sides when you put the system into AUTO on the panel or using the external switches.
To alter the grading depth, use the UP or DOWN arrows to set an offset.