It is based on connecting a Leica TS16 P series Total Station with a Leica CS20 controller both running Captivate firmware. The Apps that this QRG will be looking at are Setup, Measure and Stake Points. There are other QRGs for more advanced Apps available from our support team.
Getting Started
- Turn on both the TS16 Total Station and CS20 Controller and they should automatically establish a Bluetooth connection between the Radio Handle on top of the TS16 and the internal long-range BT radio in the CS20 controller.
- Level up the TS16 looking at the electronic bubble on the TS16 screen or CS20 controller.
- The Total Station should display that it is now been controlled by the CS20 controller.
- You are now ready to set up your job that data will be stored to. Select the “Tap here to create new job” in the centre of the job carousel.
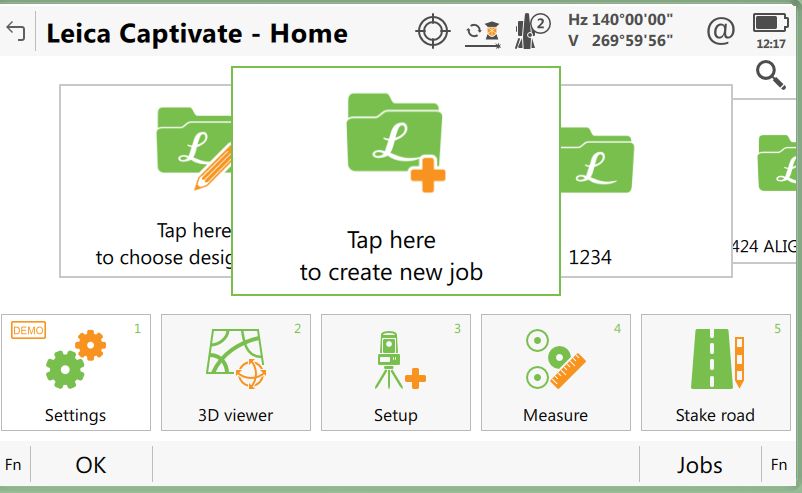
- Name the job with information relevant to your survey such as date and location.
- Tab across to Coordinate System and select the Coordinate System if used on your project or set to “None” if you do not want to introduce a scale factor.
- You can choose an existing code list or choose to start a new code list depending on how many codes you plan to use.
- You can Link older jobs so the data is available in your current job or Link Design data if you wish to use a DTM or display a DXF as background information
- Once you have gone through all the tabs and they are set up to your satisfaction you can select F1 Store
Understanding what the icons at the top of the display screen mean
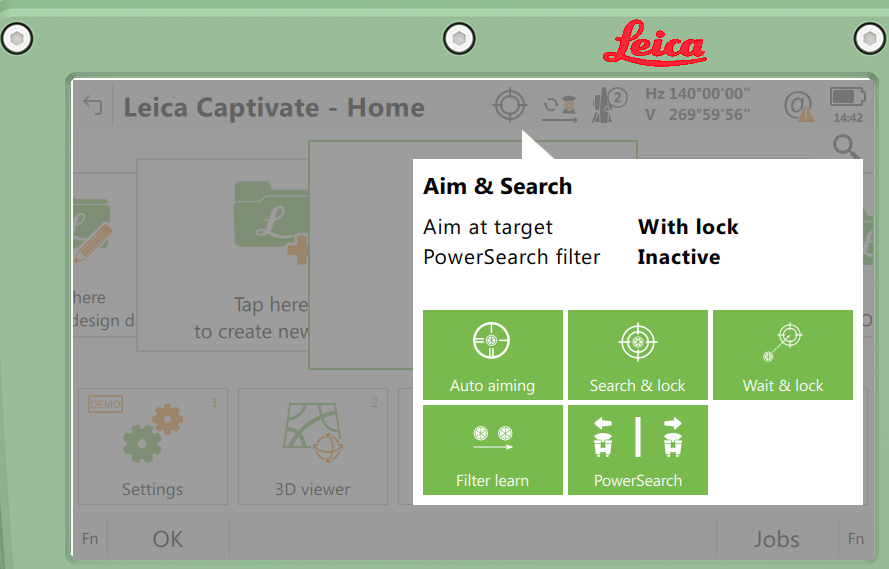
"Aim & Search" Window
This sets the prism tracking mode which works best for Robotic operation.
- PowerSearch: TS16 rotates sends out a vertical laser beam that finds and locks onto a prism
- The PowerSearch Filter "Filter Learn" allows the instrument to "learn the environment" and also detect and ignore prisms that are not to be used as part of the survey. Hide your 360 prism when running Filter learn.
- "Wait & Lock" means that once the TS16 loses lock onto a prism such as in a heavy traffic environment it wait until the prism is detected in the telescopic field of view and then lock back on to the prism.
- "Auto aiming" allows the instrument to find the centre of the prism without looking through the telescope.
"Measure & Target" Window
This sets the type of prism used and whether you are taking reflectorless measurements or measurement to a prism. This is also where you activate continuous measurements to a prism when staking out data.
The coaxial red laser can also be turned on here for pointing to features in the field. 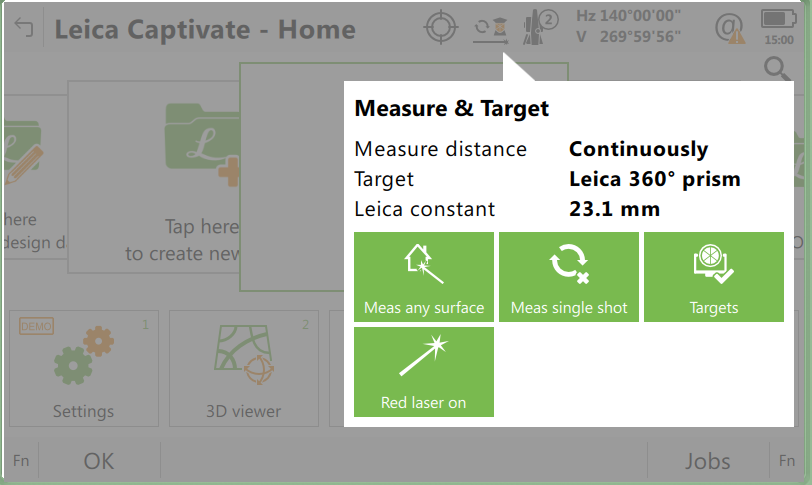
Application Programs (Apps): Found below the jobs in the App carousel
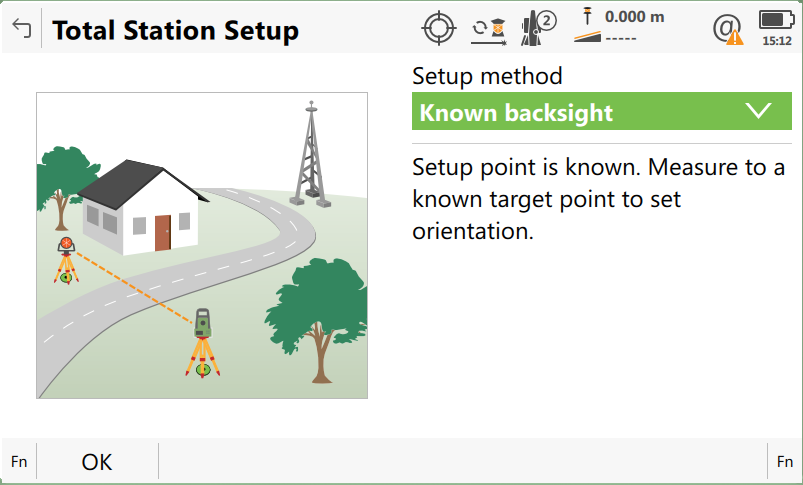
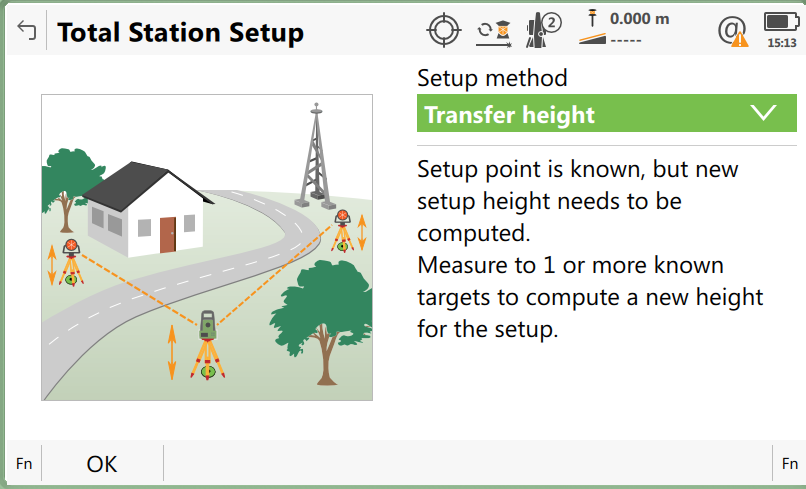
1. Setup: Used to setup and orientate the Total Station.
Common methods are as follows:

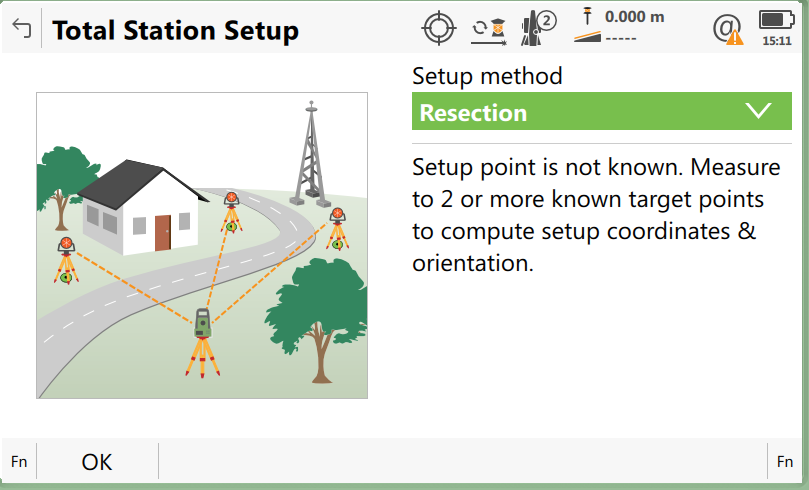
Most common method is the Resection method. Below is the process.
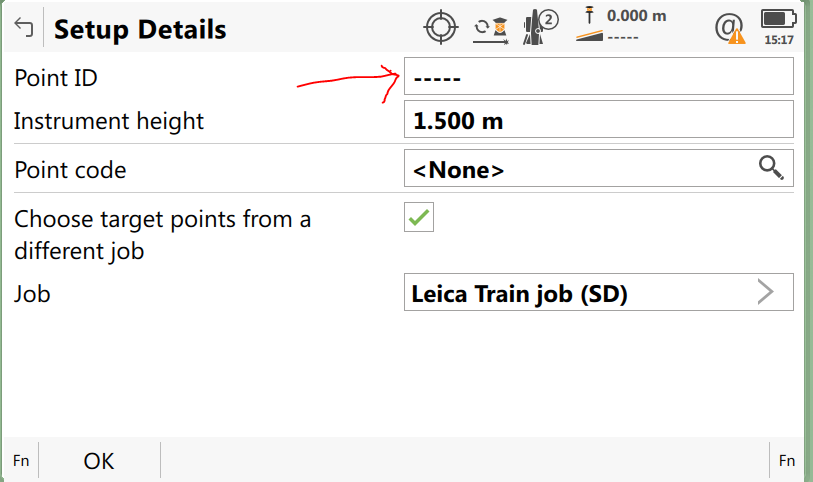
- Give your Total Station a point number for the new point calculated by your resection. The TS16 instrument height can be entered but is not essential for this setup method.
- Choose a different job if your control points are stored to a different job.
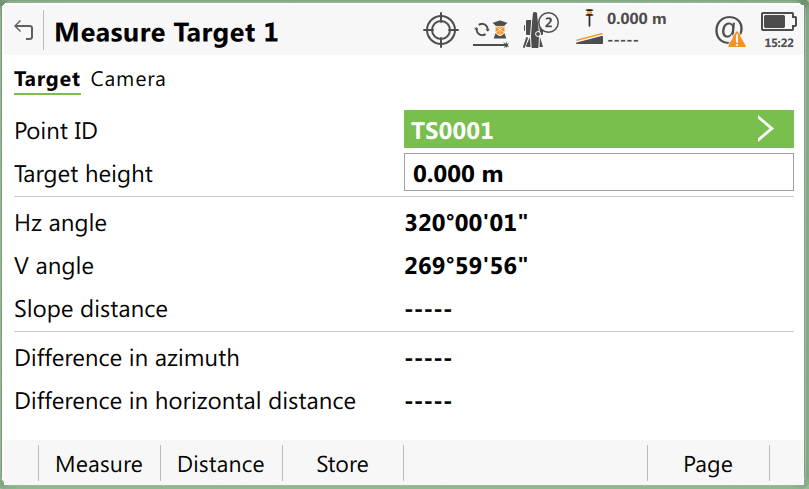
Measure Target 1 using the correct Target Height (Prism height)
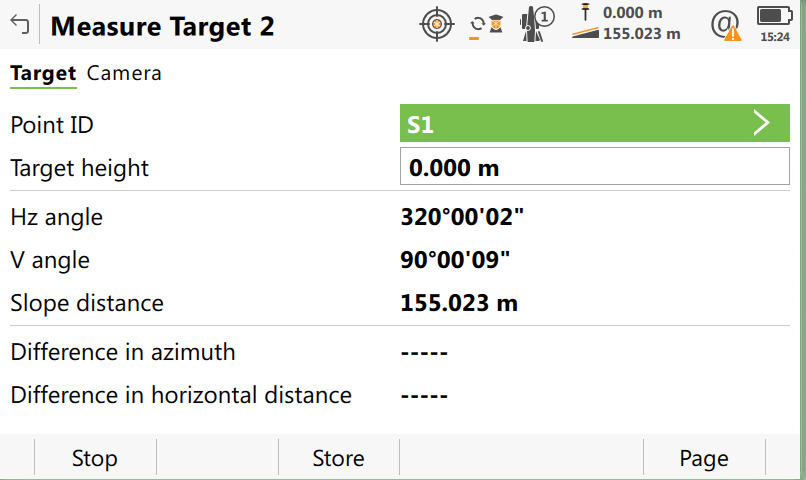
You can now select F5 Calculate or add more points to your Resection calculation. A Results page is now displayed
2. Measure
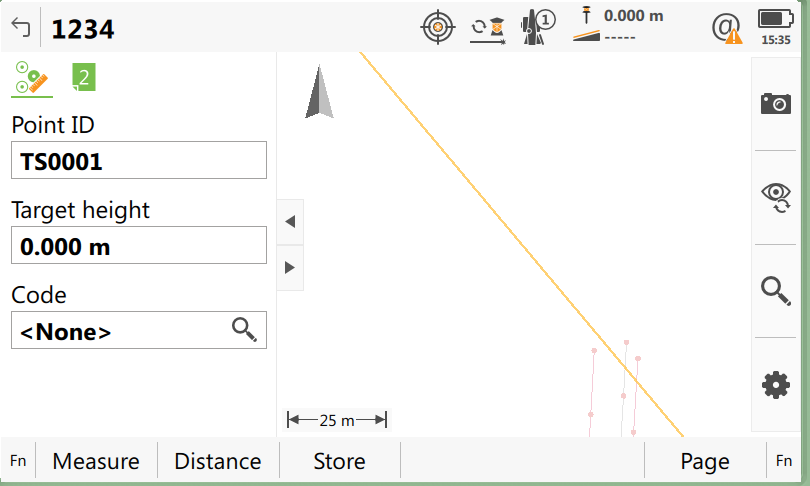
Use the “Measure” App for Topographical/Asbuilt surveys.
This screen allows you to code points , change target heights and point numbers
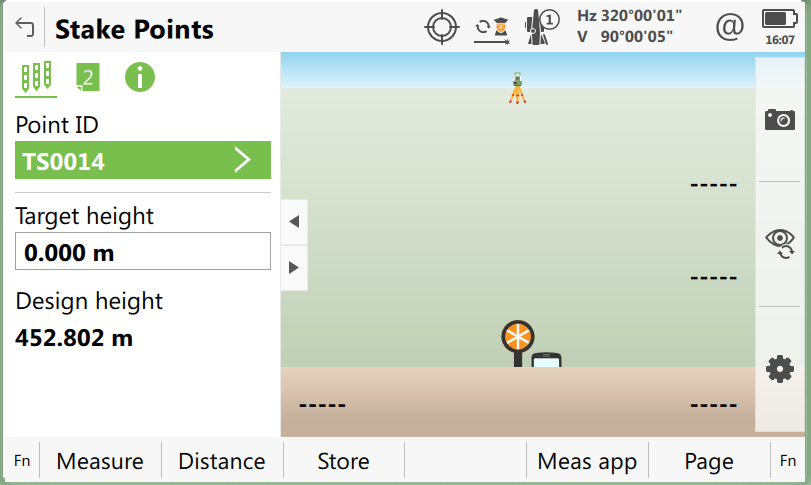
3. Stake Points App
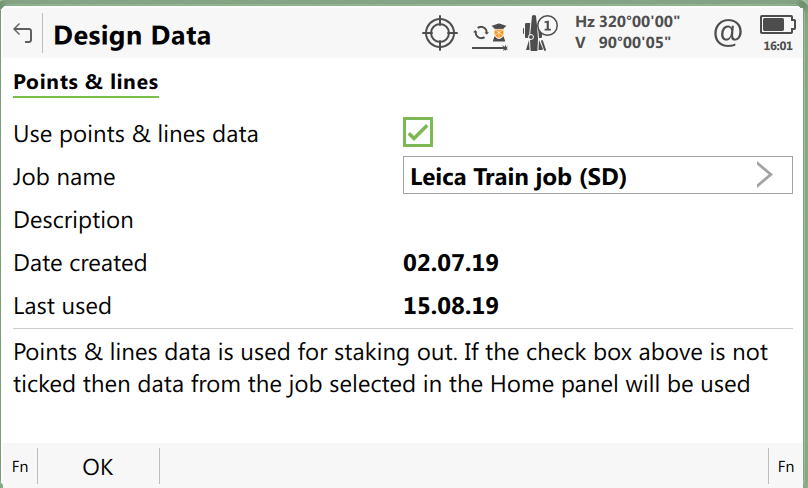
Use the Stake Points App for setting out points. You should be prompted for your stakeout job when opening the App. If not you will need to return to the main menu and select the Tap Here to choose Design Data to the far left of the job carousel.
Stake Points Screen
Once you select the point you wish to stakeout then select F2 Distance. If you are in continuous mode the Map Display will guide you to the stake out location.
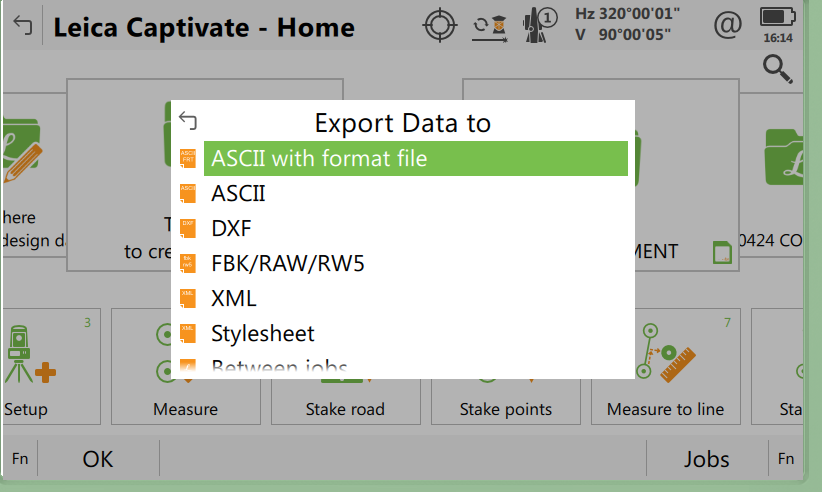
Export out of Data
Once you have completed your Survey return to the main menu and select your job and select export data.