Step 2: Press the boxes for the functions that should be controlled automatically.

Step 3: Adjust “Attack angle” (if desired) by using the +/- keys or pressing the value field.

Step 4: Press the bucket icon to close the menu.
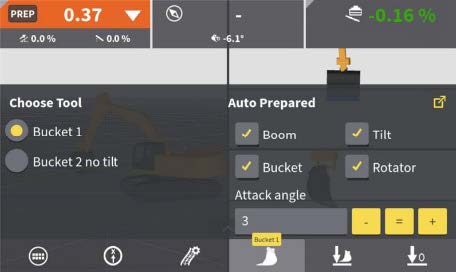
Step 5: Press the “PREP” button to activate CoPilot prepared mode (can be configured to an external button).

The "PREP" button changes to red “AUTO".
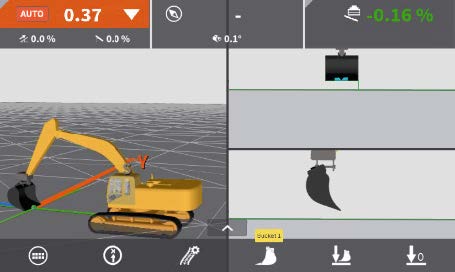
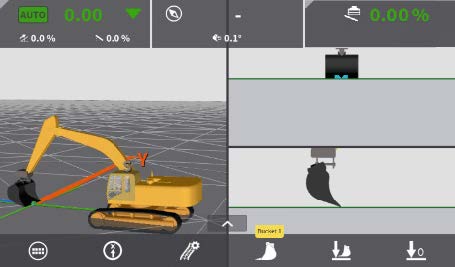
Step 6: Place bucket inside model boundaries, and within operational height window (which is 30cm.)

Step 7: If a tilt rotor interface is used, activate (and hold) the tilt rotor auto-button.

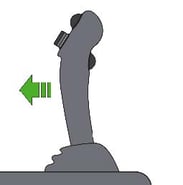
Step 8: Apply pressure to stick hydraulics.
Step 9: The "AUTO" button turns green, and the system activates selected functions to move cutting edge towards the model below. Apply moderate stick speed to let the system keep on target.