Requirements:
- Control Points active within the current Job
- Instrument is setup with a rover profile and has a fixed position.
- Note: During the Localization, Measure Mode will default to Average (time) to change mode.
Completing a site localisation
-
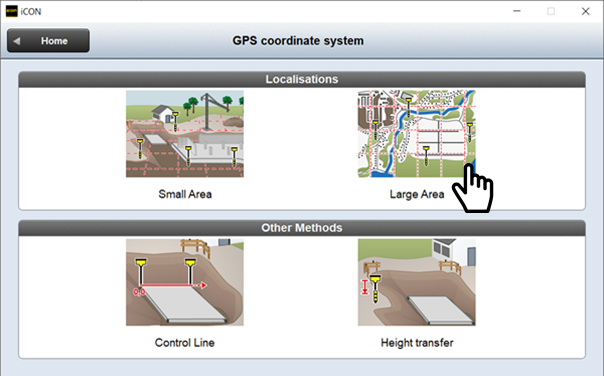
Select Coordinate System from the Home Menu, then Select Localisation (Large Area)
-
Select your local network from the predefined coordinate system list, click green tick

-
You will be asked to Select and measure the first point
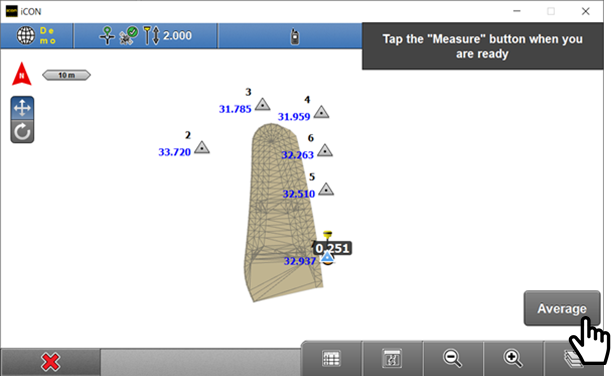
You can select a point by tapping a point on the screen or selecting from the point list
 . Once a point is selected, the Average measure button will become selectable.
 -
Tap Average to begin measurement.
-
Repeat this step for all additional points.
Tapping red cross will abort the localization. A partially completed localization will be stored, and can be resumed the next time the Coordinate System application is started.
-
Tap
 to view the residuals the measured points. Inaccurate measurements are shown red and can be de-selected by tapping on them active measurement values are highlighted in Blue with a green dot beside them.
Tapping green tick will finish localization, but it is recommended to view residuals first.
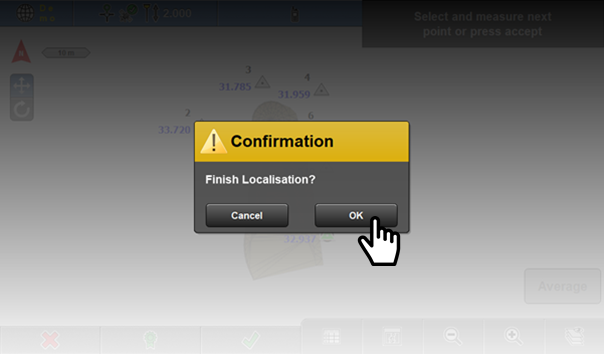
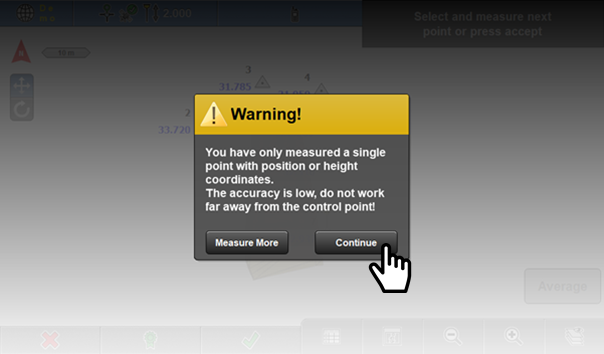
If you have only measured a single point you will get a warning message. -
Click continue to accept your localization
Note: It is recommended to measure a minimum of 3 control points spread around your site.
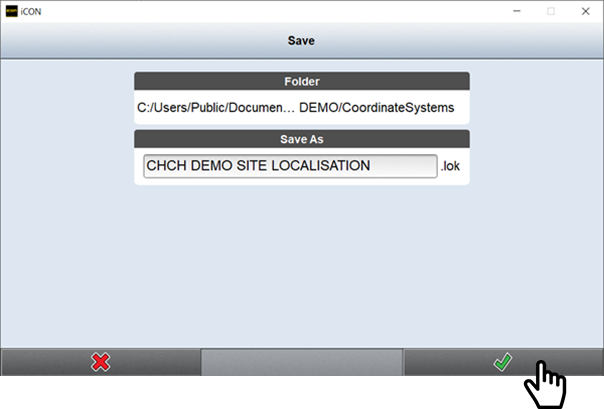
Your localization will automatically get named with your project name and time/date stamp. -
Click on the Save As box to rename and then click green tick to complete