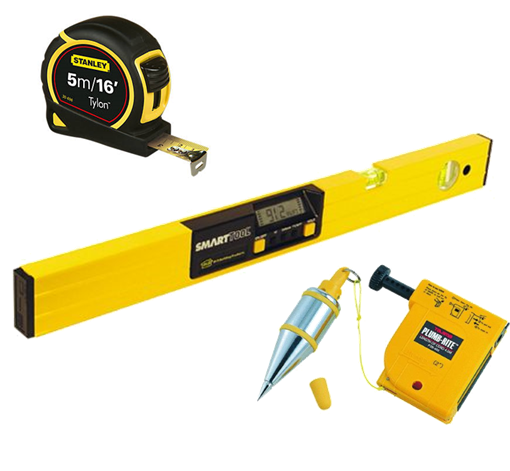
To calibrate a bucket you will need:
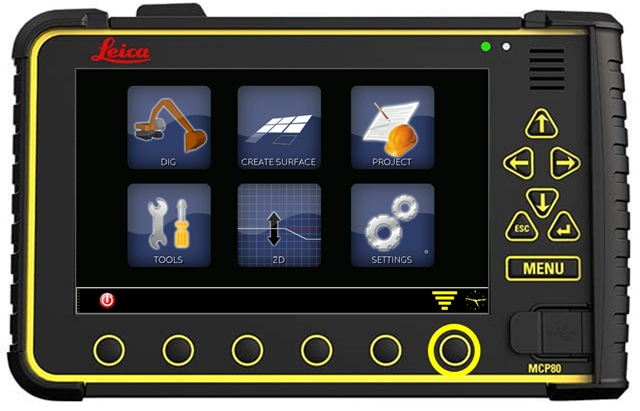
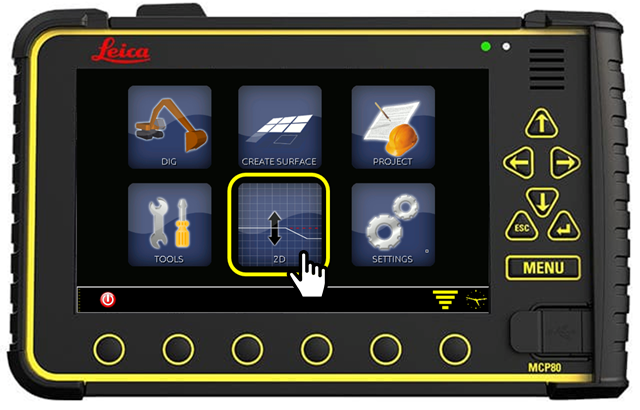
- Tap 2D from your Leica MCP80 Control Panel home screen.
Wait until initialisation is complete….
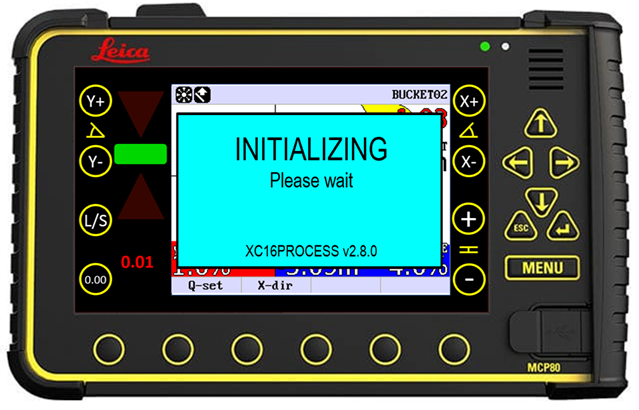
-
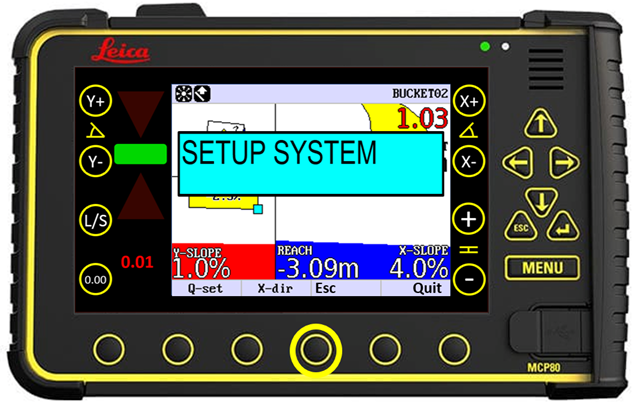
Press the Enter key to bring up menu SETUP SYSTEM.
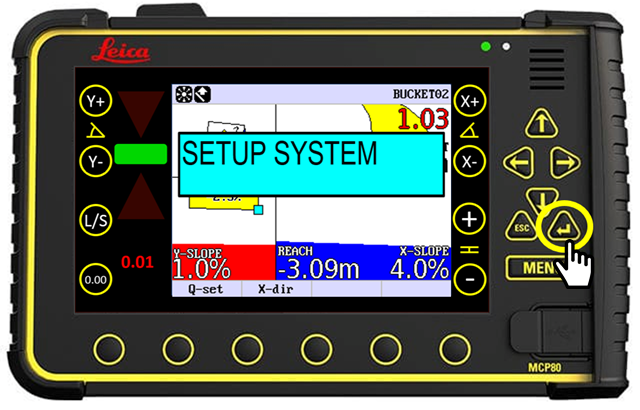
- Press the right arrow twice until you see SETUP BUCKET.
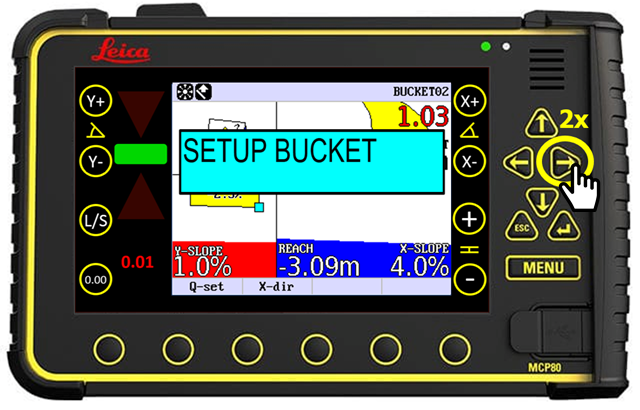
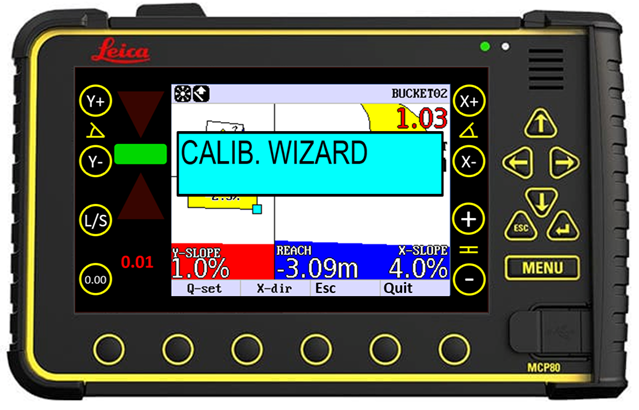
- Press the Enter key to open the menu CALIB. WIZARD

- Press the Enter key to open the menu BUCKET WIZARD.

- Press right arrow to open menu SELECT BUCKET.
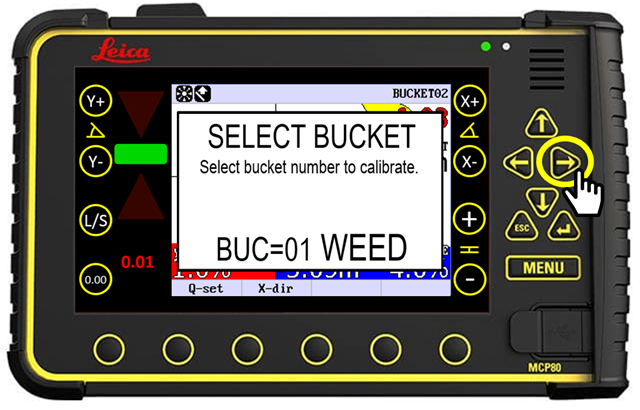
- Use the up & down arrows to bring up the bucket you would like to calibrate…then press right arrow to open menu WARNING.
(The warning will not show when calibrating a new bucket)
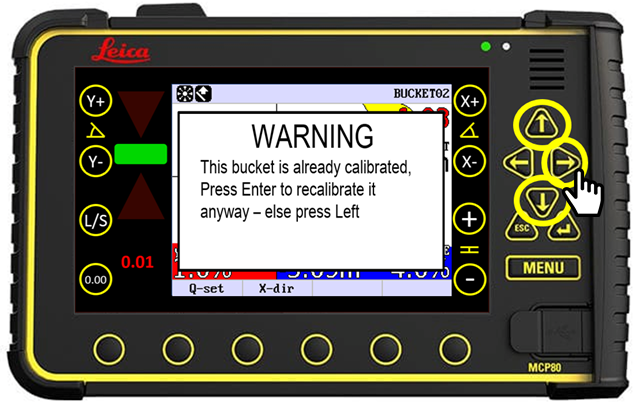
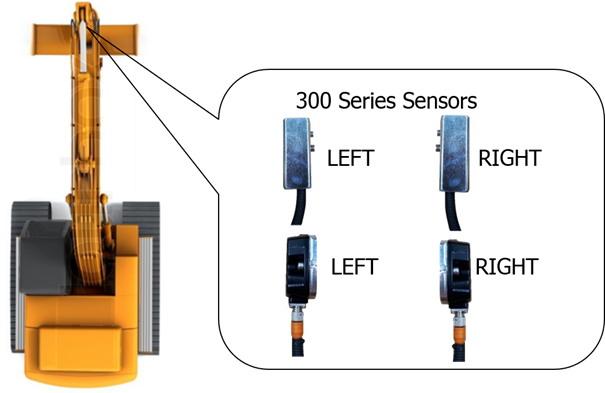
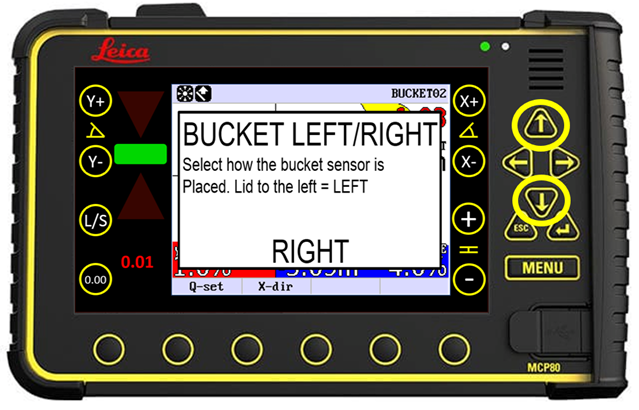
- Press the Enter key to open menu BUCKET LEFT/RIGHT. Use the up & down arrows to select how sensor is mounted.
(A wrong selection here will cause the graphics to be reversed. i.e.Bucket will curl out on screen when curled in)
- Press the right arrow to open menu TOOL TYPE.
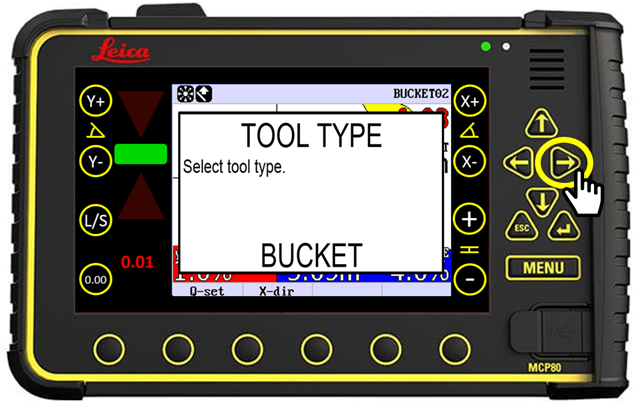
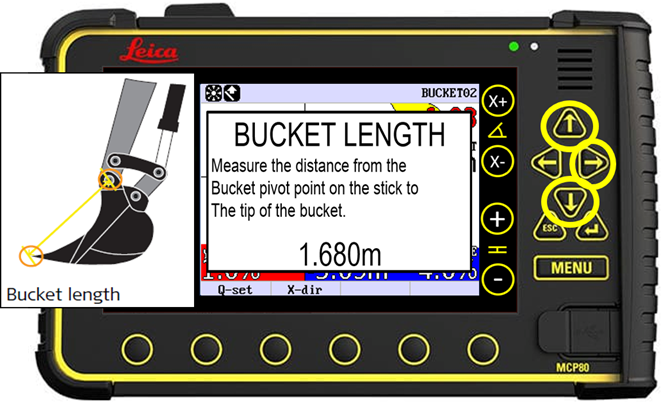
- Press the right arrow to open menu BUCKET LENGTH.
Use the up & down arrows to change value. (Measure with tape measure)
- Press the right arrow to open menu BUCKET ANGLE.
(Use plumb bob to set bucket as pictured.)
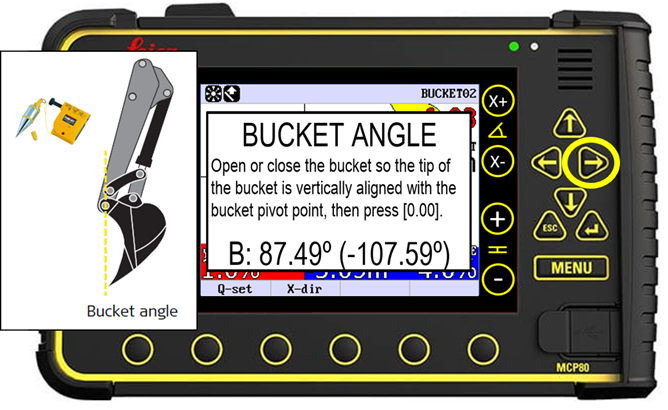
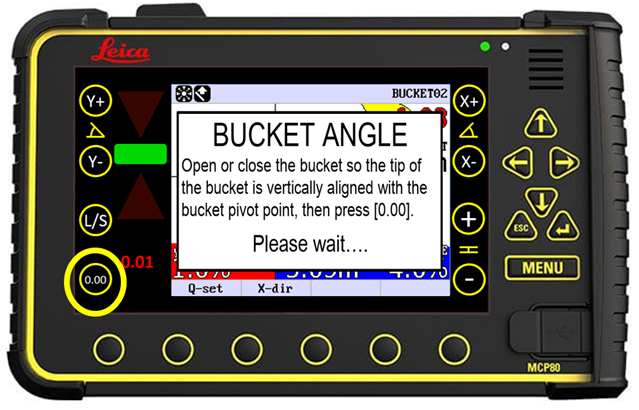
- Tap the 0.00 symbol to store Bucket Angle.
(Do not move machine while storing angle)
- Press the right arrow to open menu BUCKET FLAT ANGLE.
(Set bottom of bucket flat as pictured.)
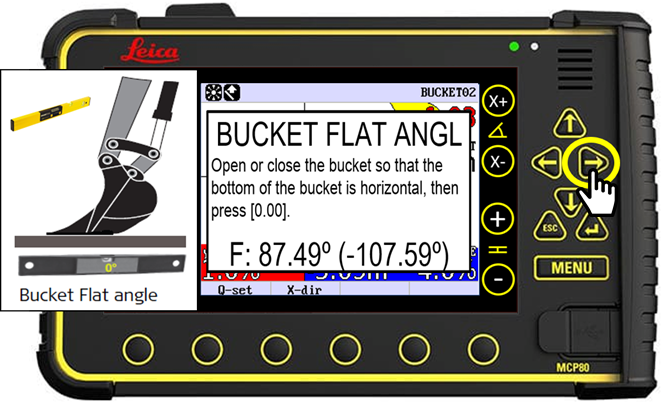
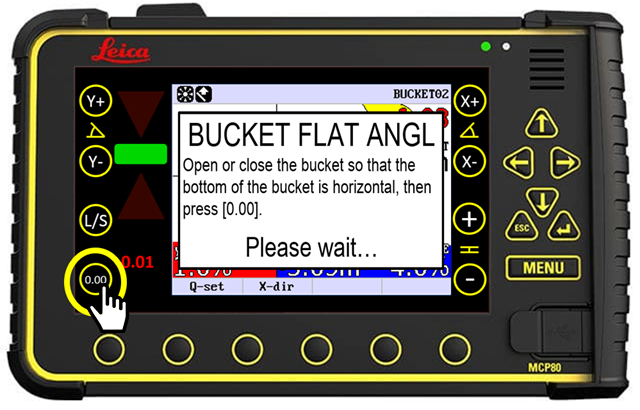
- Tap the 0.00 symbol to store bucket flat angle.
(Do not move the machine while storing angle.)
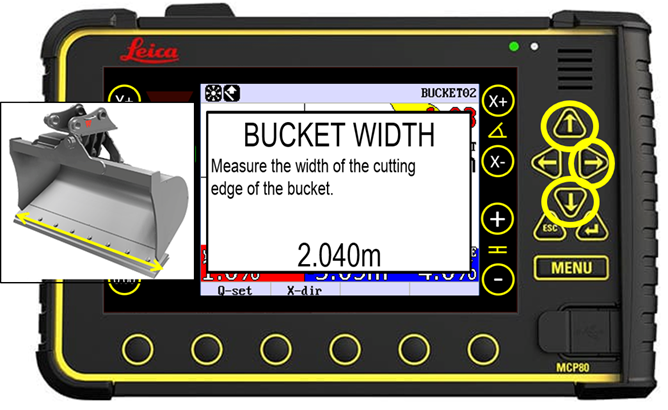
- Press the right arrow to open menu BUCKET WIDTH.
Use the up & down arrows to change the value. (Measure with tape measure.)
- Press the right arrow to open menu BUCKET NAME.
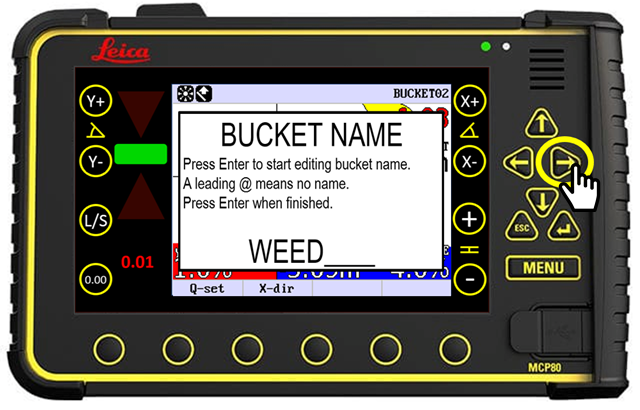
- Press Enter key and use arrows to edit name.
Press Enter then right arrow once finished to return to menu CALIB WIZARD.
- Press the round hardware button below Esc to return to menu SETUP BUCKET.
- Press the round hardware button below Quit to return to the Home screen.