The RTK Profiles are easily set up using the RTK Profile Wizard. Using this wizard, the Rover RTK communication settings are defined. These are usually split into two types; the first is for SmartFix cellular RTK correction service users and the second are used if you have your own base station with a radio or cellular link between base and rover.
These two profiles are usually called “SmartFix” and “Radio” with one RTK Profile been used at a time. The RTK Profile is contained inside the “Working Style” that holds all the Captivate settings. An RTK Profile can be set up to connect to the LINZ free RTK service but locations of base stations are very limited.
Access: Select Leica Captivate - Home: Settings\Connections\RTK rover wizard.
- Select the task that you wish to carry out
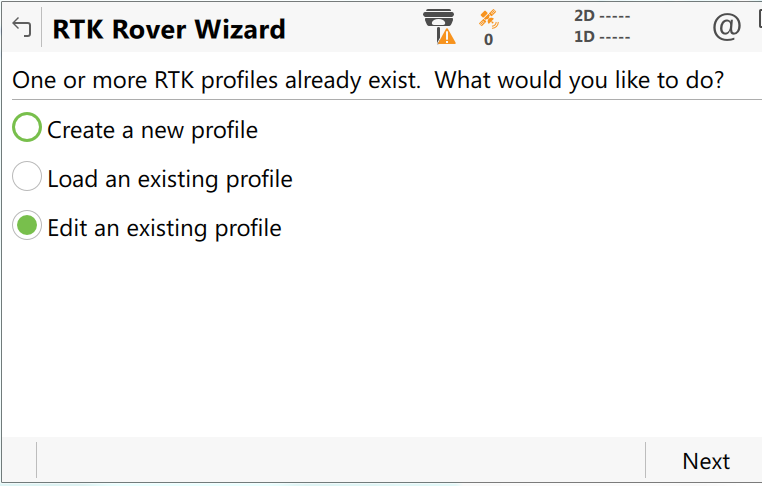
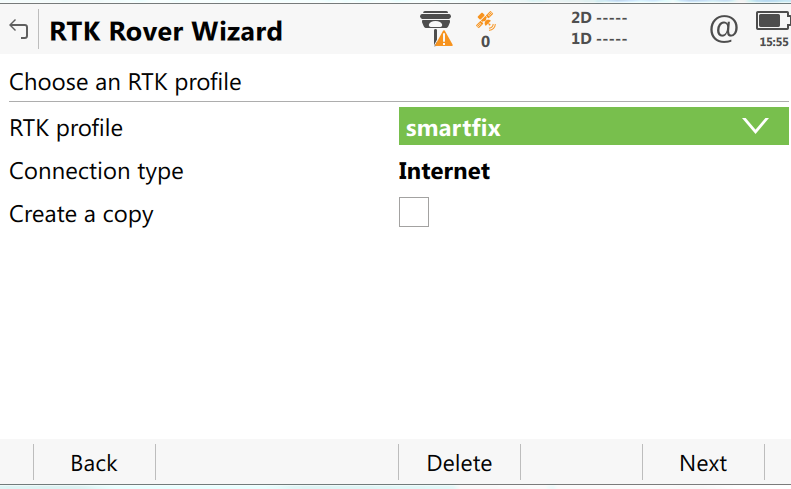
- Edit an RTK Profile or create a new one. You can make a copy of an existing RTK Profile that will retain all settings. The following are typical settings for a SmartFix Profile:
Where is the RTK device being used?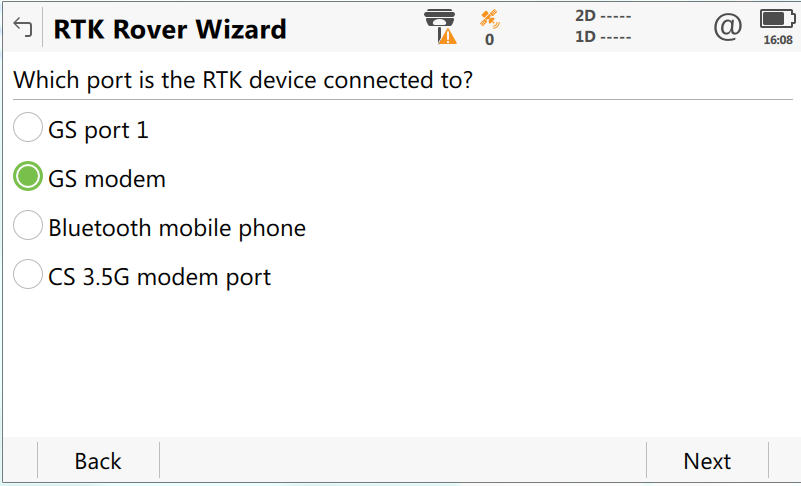
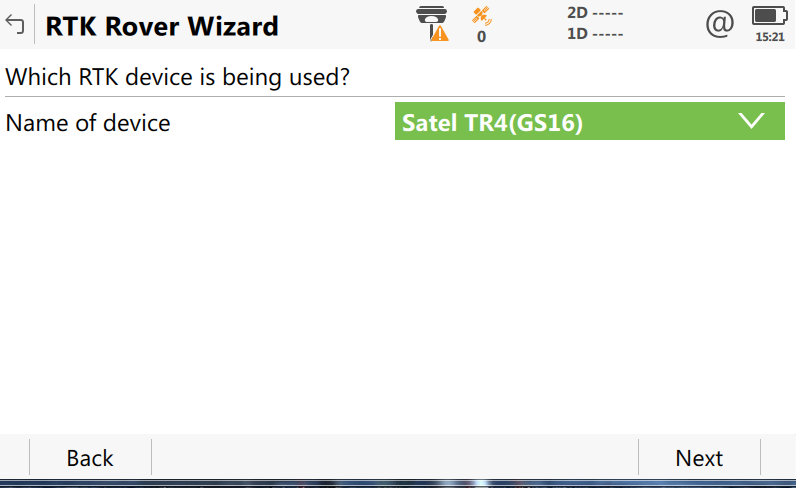
Which RTK Device is being used?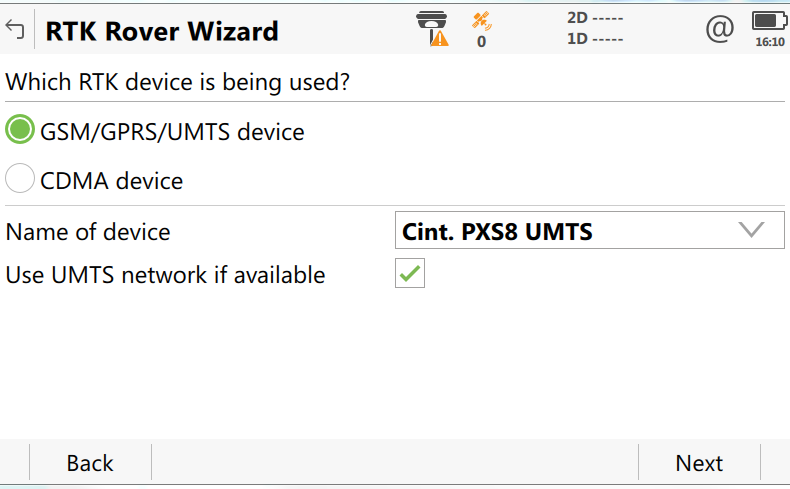
Pin & PUK Code left unchanged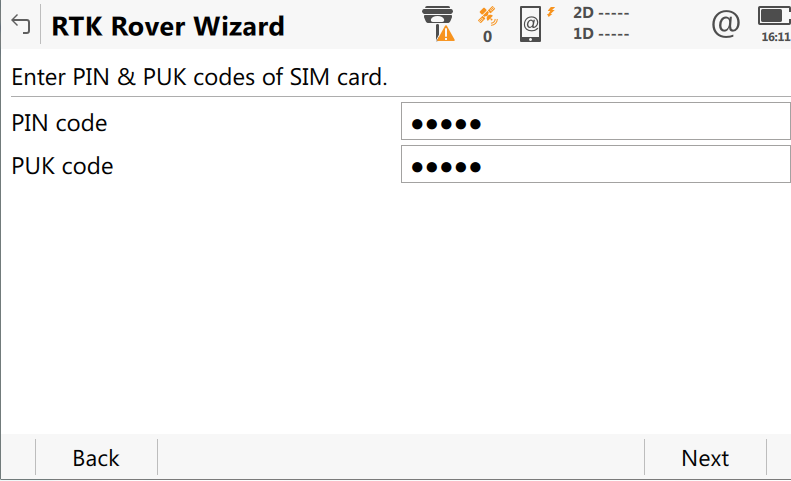
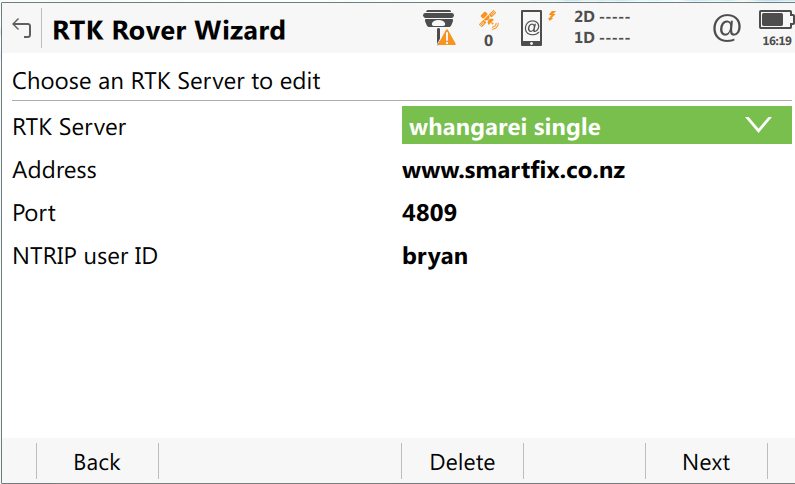

Your NTRIP User ID and NTRIP password are how you connect to our SmartFix subscription service or LINZ PositiNZ RTK service. A full explanation of all the SmartFix ports will be given in another QRG.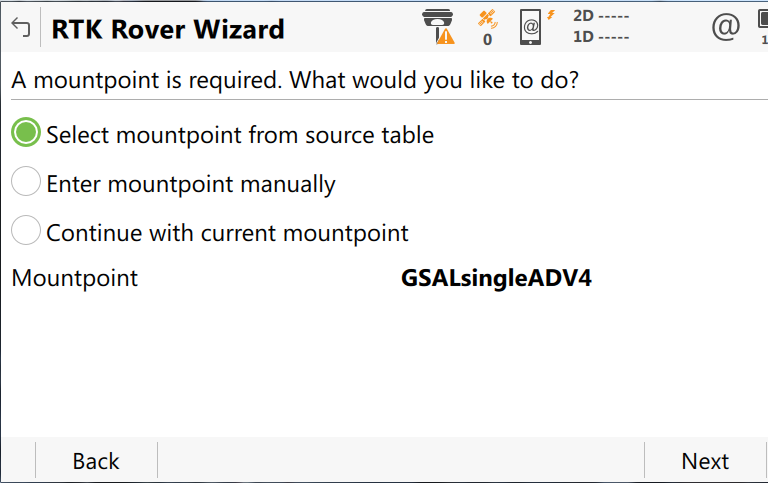
By selecting “Select mountpoint from source table” you can see if your rover is connected to the Internet as you will not get the list of mountpoints (base station & products) coming up. (This does not necessarily mean you have data on your SIM card.)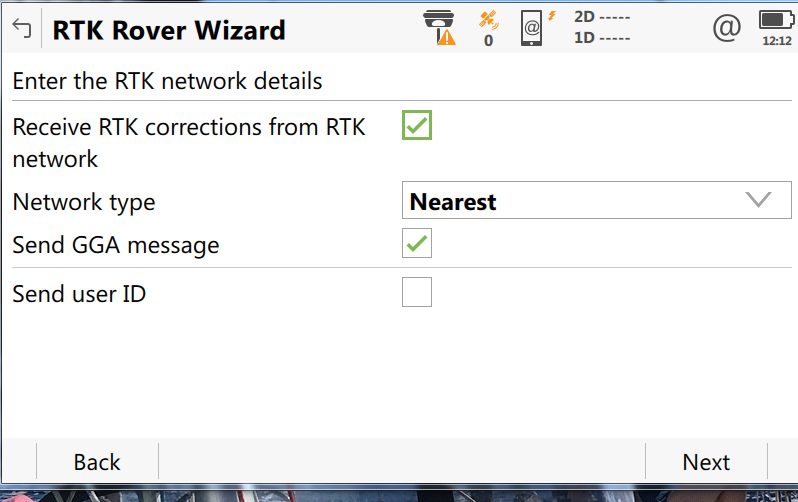
- Check that the Network Type is set correctly. Nearest for a “Single Site” (3809 or 4809), Max for GPS & Glonass (381x port) and iMax for 481x port series)
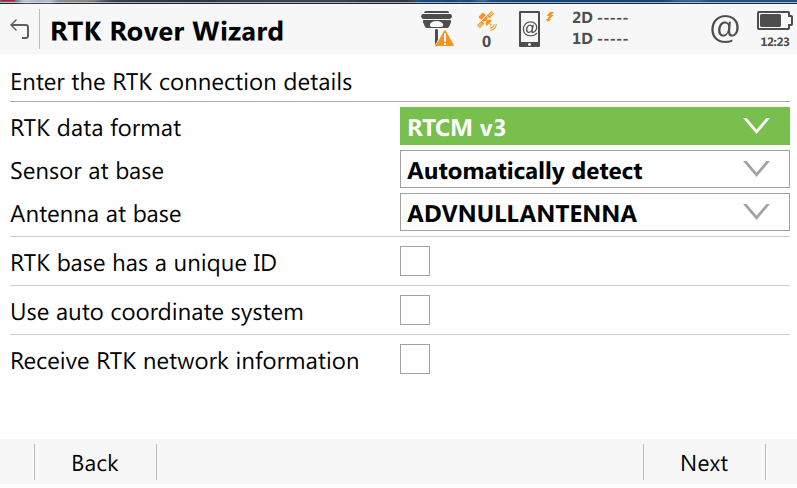
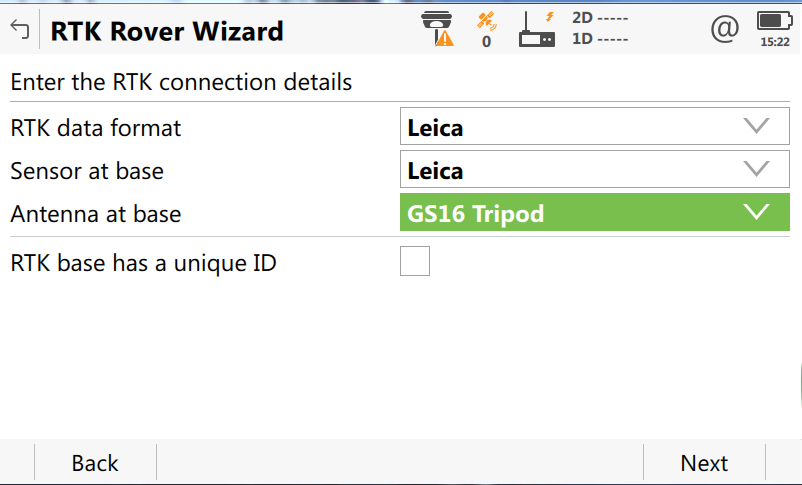
RTCM v3 is an industry standard format that any brand of GNSS rover can access. Antenna at base: “ADVNULLANTENNA” will reduce the antenna height of the base station to a common datum regardless of the GNSS sensor manufacturer. - Select F6 Next and you should see all check boxes ticked and the lightning bolt pulsing to the right of the phone icon at the top of the controller screen. You should see (or hear) a series of messages coming up (cell phone modem connected & Connected to NTRIP Caster) to complete the connection to the SmartFix data stream.
You should now be initialised and your CQ (Coordinate Quality) displayed to the Centimetre level.
Radio RTK Profiles
These are a lot simpler to set up. A local base station is used if you want to improve the height accuracy on your project. Unless you have your own dedicated frequency, you will suffer interference from other surveyors using their own base station on the same frequency in the same area. 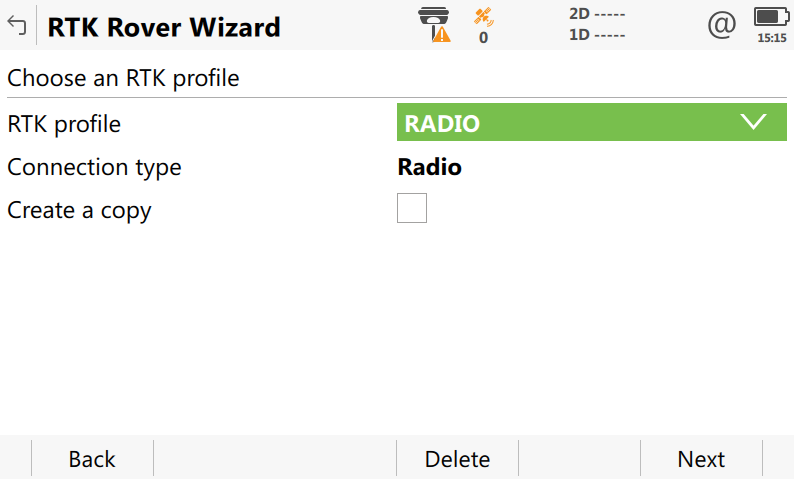
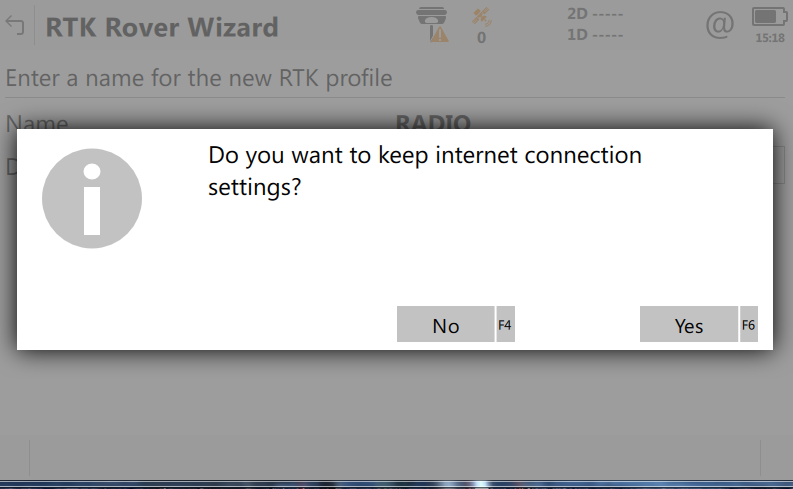
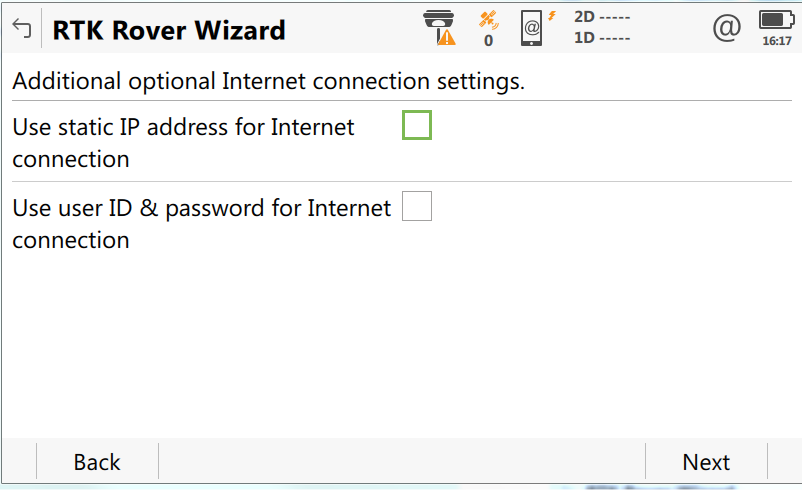
Internet settings are only required if you are using other Captivate functions that require connection to the internet such as file exchange (ConX).
Note: cellular modem will continue to use data if you say yes. 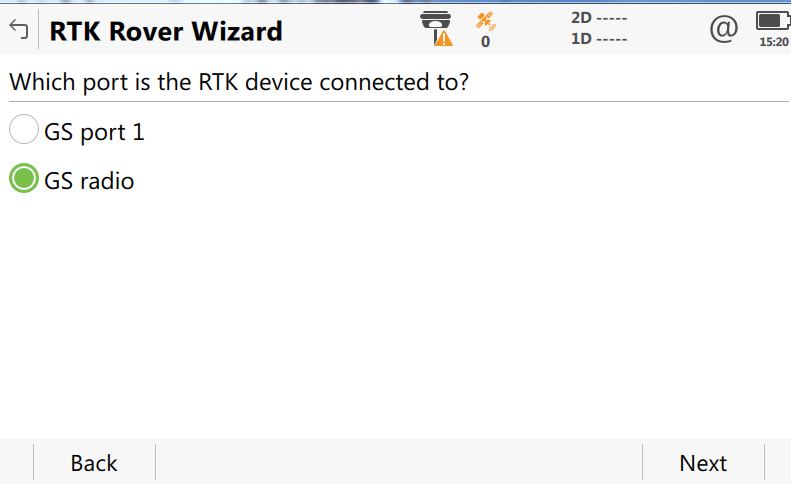
The RTK base has a unique ID option allows you to receive corrections from your base station and not other bases working on the same frequency.
To set up the channel and radio protocol select the Radio icon at the top of the CS20 screen and select Change Channel. 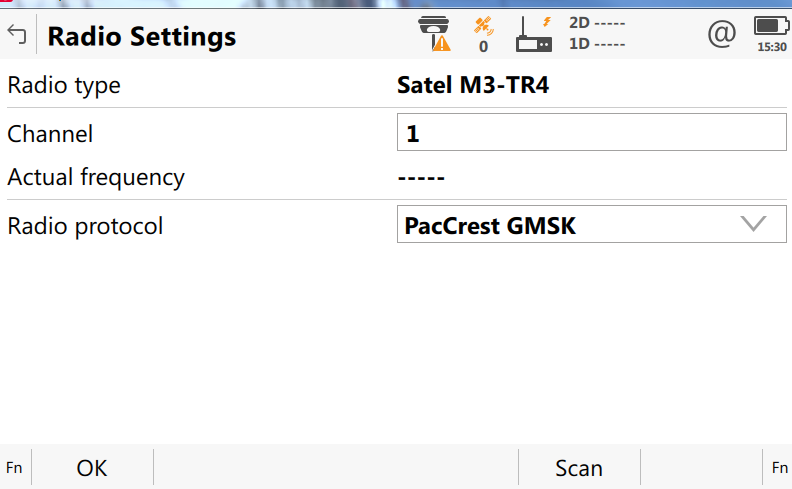
To communicate with a Radio base station three things must be the same:
- Frequency (channel) & Band Width
- Radio Protocol (eg Pacific Crest GMSK or Satel 8FSK)
- Message (Leica 4G or RTCM)
There are other options, but these are the most common.
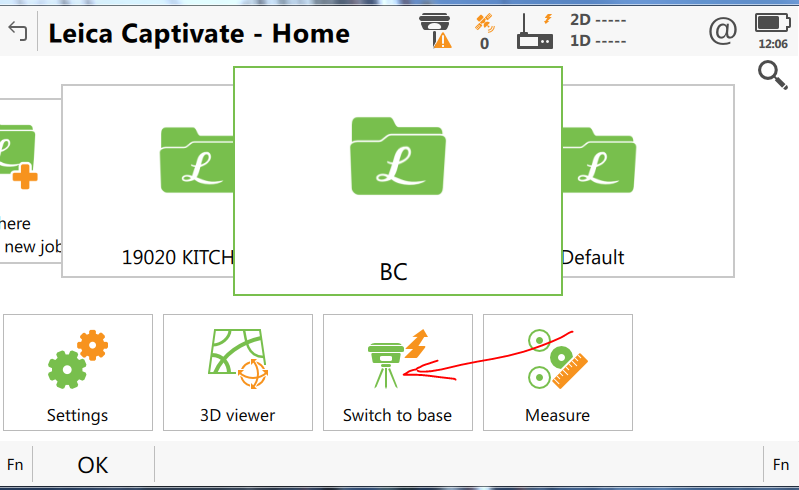
How to set up a base station from a Leica Captivate CS20 controller through a Bluetooth connection
Assuming Bluetooth comms already setup with base GS16/GS15/GS10 or GS18T.
- Select “Switch to Base”
No 2 Settings, No 2 Connections, No 2 All other Connections - Edit Base RTK1. Connect Using “GS Radio”. Sometimes a message is displayed saying the “Device is already in use”. Rename it to “Base”.
- Ensure that RTK data format (message) and Device is correct. OK.
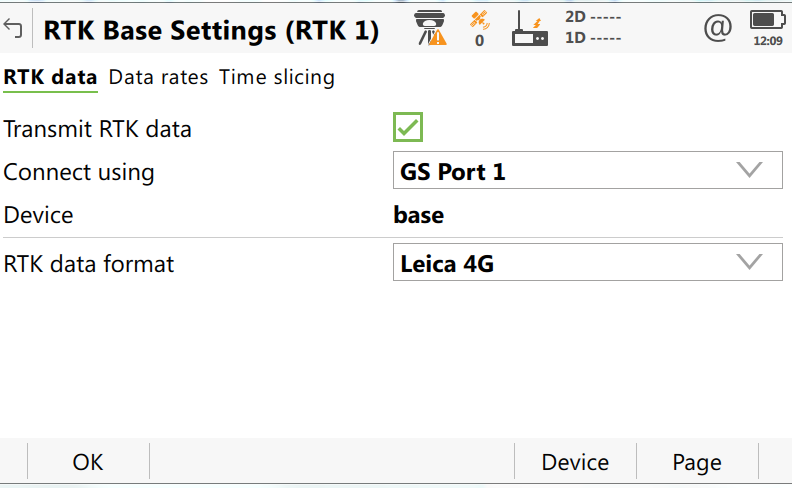
To change the channel, select F4 Control