- Power on the Leica Zeno FLX100
- Open Zeno Mobile app on your device
It is assumed that Zeno Mobile has been configured to connect to the Leica Zeno FLX100, and to use an appropriate SmartFix mountpoint.
* The "Connectivity" light will flash blue on the Leica Zeno FLX100 when connection to Zeno Connect is established
* The "10101" data light will flash Green when connected to SmartFix
* The "GPS" light will flash Green when tracking satellites -
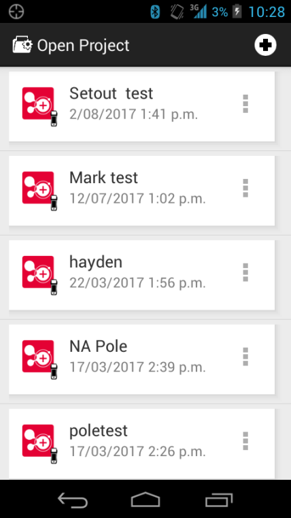
Select your existing project by tapping on the project or press the + icon to create a new project.
-
Give your new project a name. If it is similar to another project then select this project in the Based on Project field. It will select the same coordinate system as the previous project but it won’t bring any of the data through.
There are various ways to import data for use in the field. The easiest is via Esri Shapefile. Copy these to the Download folder in the Zeno and then import them via Layers then + Add layer from Download folder
To get to Layers Swipe in from the right-hand side of the screen where the 3 x grey horizontal lines are.
-
You can select multiple files by pressing hard on the first file then selecting the rest then select the tick to import to project.
-
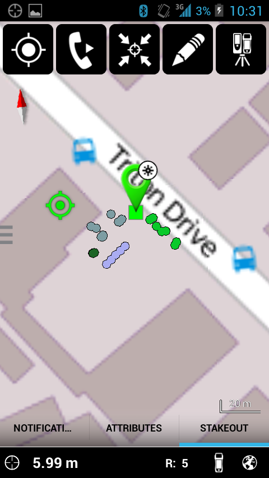
Once data is imported, press the Zoom icon (middle icon at the top with four arrows). This zooms to your current location.
-
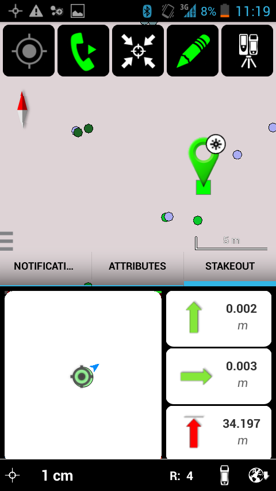
Select the Telephone icon and it should flash up saying "Connected to RTK" and the accuracy at the bottom of the screen should improve down to 1cm as per below. A background image should also have loaded up automatically.
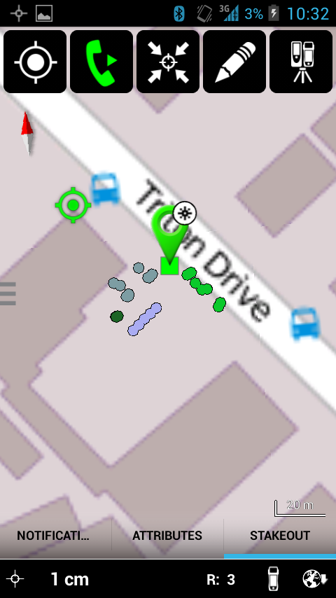
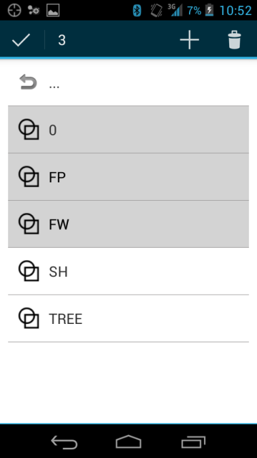
Now you are ready to collect data or set out. There is a circular icon that moves on screen to show your location and the number of satellites viewed are shown in the system tray at bottom of the screen. You can zoom in using two fingers like a smartphone.To collect new Features press the Target icon (top left). You can now click on the Feature icon on screen and then on the code and it should bring up a circular list of options.
You can edit the attributes of the point from here such as adding a Point number and Code. Press OK to store the point and continue to next Feature.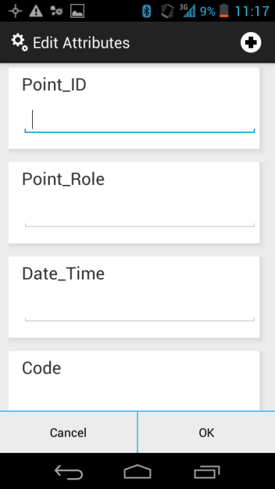
-
To Stakeout points:
-
First select the point that you are wanting to set out.
-
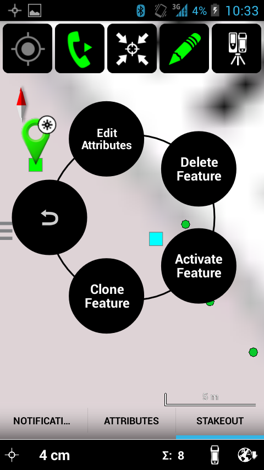
Select the point from the Map screen and choose Activate Feature from the circular menu of options (see image above).
-
Press the Stakeout at the bottom of the screen and drag it up as far as you want. Drag it enough so that the coordinate and height of the selected points are visible to make sure you have selected the right point.
-
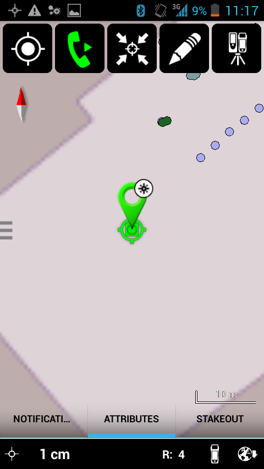
Navigate to the point.
Note: a 1.2m antenna height has been set so the Zeno should be held roughly at this height in order to show reduced ground level heights.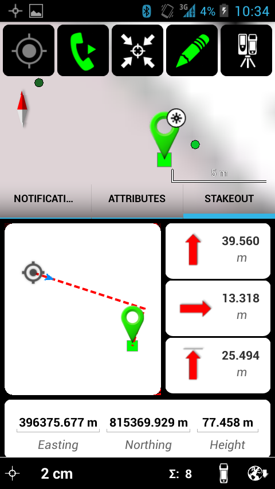
-
-
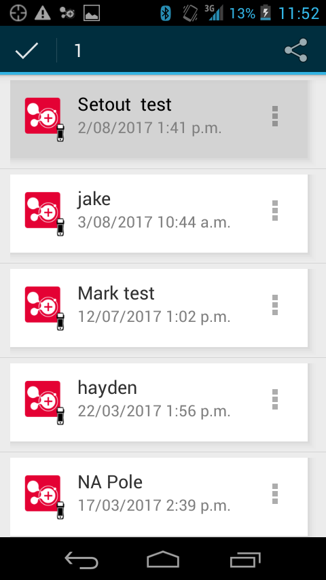
To Export data drag the left menu in choose More. Press and hold on the Project to Export until the Tick appears at the top left of the screen.
-
Press on the Share icon top right hand side of screen then select Download folder. It will now ask for the Export format and main choices are ASCII or KML.
(Note Zeno file structure typically stored in : Internal Storage/Leica Geosystems/Zeno)